It is undeniable that leather is a perennial fabric that never falls out of fashion. In fact, it has conquered the hearts of almost every age group, from young children to all kinds of adults.
The colors, texture, degree of warmth, and almost every other characteristic of the leather fabric is praiseworthy. That is what makes leather garments and accessories expensive and out of reach of many locals.
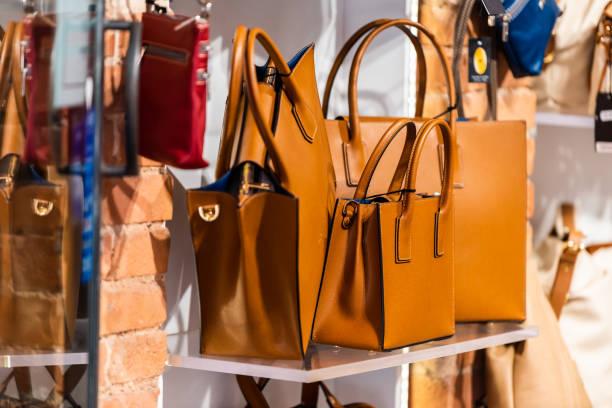
You might find yourself drooling over the new collection of leather shoes, bags, or jackets with price tags of hundreds of bucks! But, instead of sitting around grieving about it, why not make them yourself?
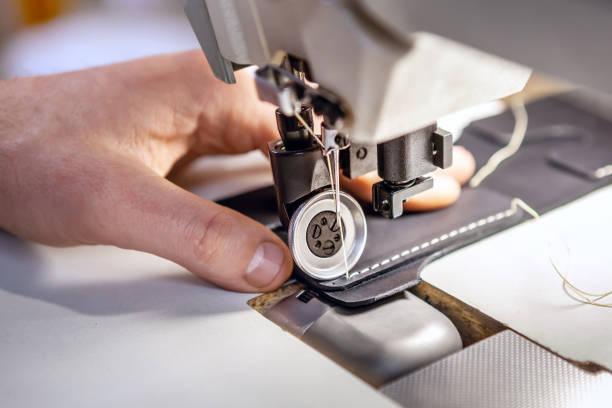
Yes, you read that right! With a piece of leather and a home sewing machine with certain specifications, you can learn leather stitching and make products independently.
Of course, there are a few issues that come up with leatherworking at home. But don’t worry! We’re here to help you out.
Stick right to learn about the tools, procedures, and tips for how to sew leather with a sewing machine.
Table Of Contents
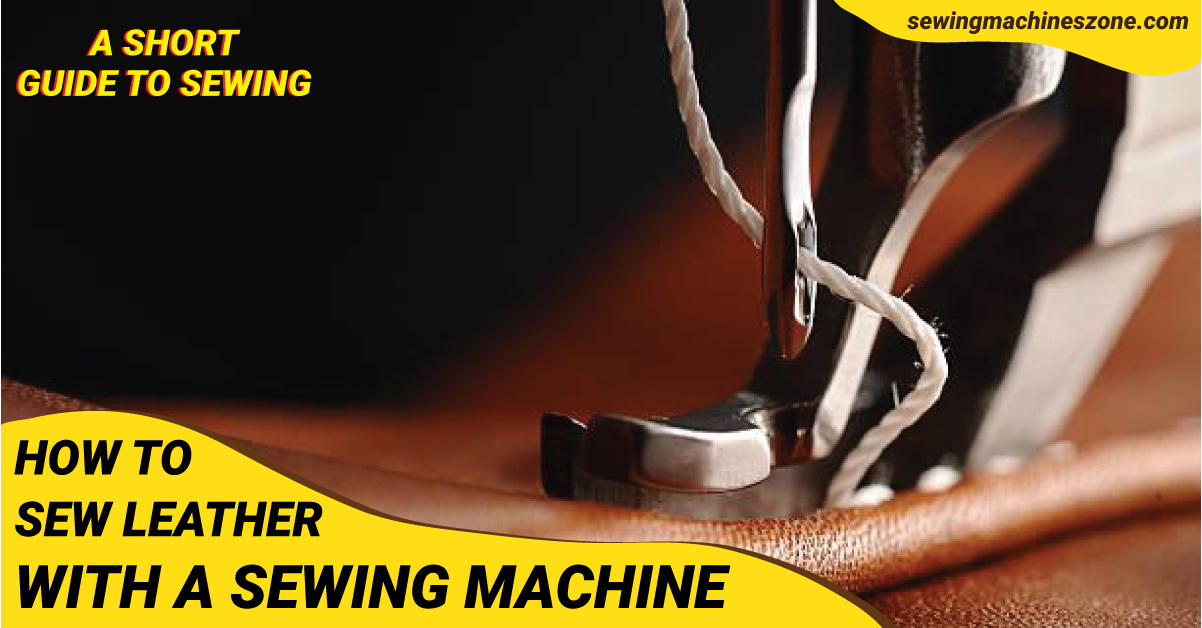
A STEP-BY-STEP GUIDE ON HOW TO SEW LEATHER WITH A SEWING MACHINE
Before jumping right into the process itself, you’ll want to know what a good leather sewing machine looks like. Here’s an article that can help you: What To Look For When Buying A Sewing Machine?
Many of us believe that only a specialized leather sewing machine can do leather stitching. However, that is not the case.
By following the procedure elaborated in this blog, you can learn how to sew leather with sewing machines in the comfort of your home.
1. Choose The Right Leather
Choosing the right leather material is the first step to good stitching work.
After all, a ruffled or stained leather piece will be hard to work on and may not give a good finish to your work. You don’t want that, do you?
Moreover, many types of leather are available in the market, such as pigmented, aniline, nubuck, suede, and faux leathers. You must carefully analyze what type of material would suit your work best.
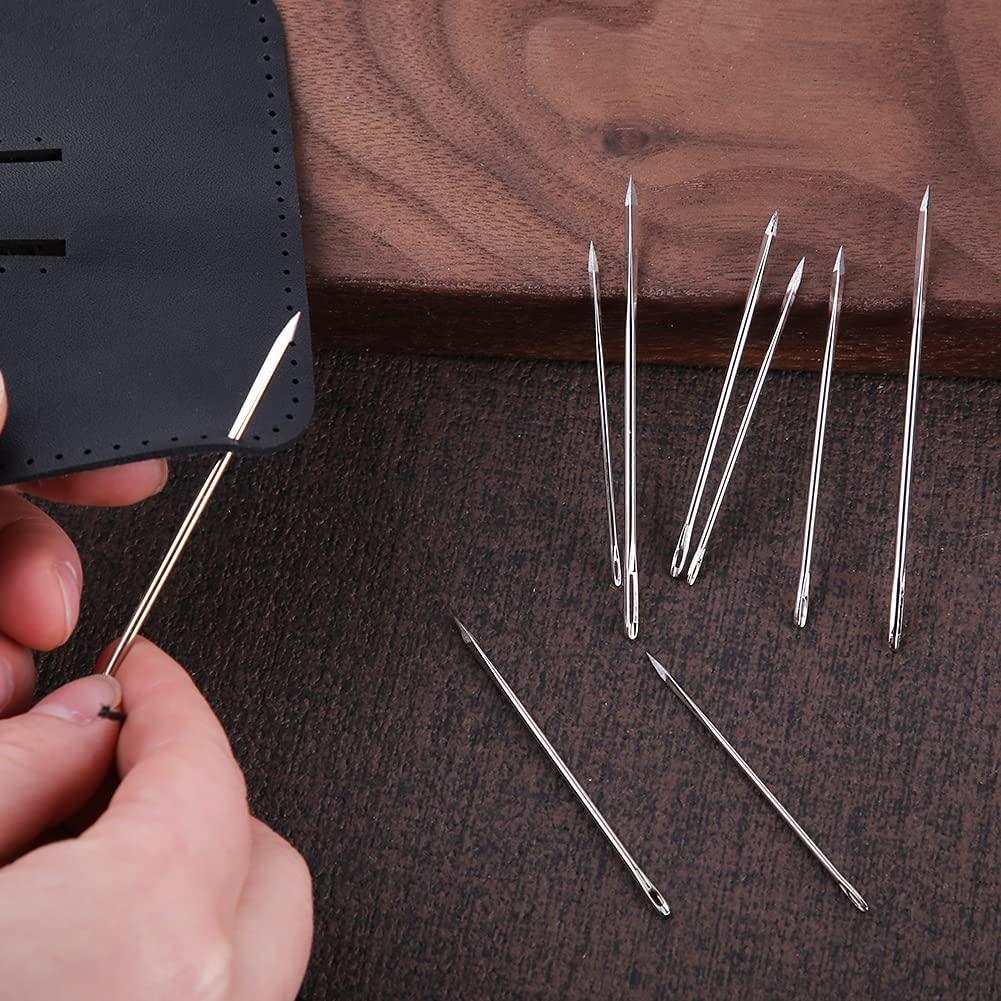
2. Switch From Textile To Leather Needles
A piece of leather is thicker and less stretchy than the usual range of fabrics. Therefore, you need to pick and work with a leather needle designed solely for a leather stitching machine since they are thicker than textile needles and can easily penetrate the fabric.
The tip of a leather needle is similar to an arrowhead (triangular in shape) that helps create a neat hole in the fabric and easily ties pieces or portions of leather together.
Don’t forget to keep backup needles with you since the thicker leather pieces may cause a needle to break or bend.
3. Use Sturdy And Durable Threads
As mentioned earlier, leather is a thick fabric. Therefore, tough and durable threads such as nylon and polyester serve as the perfect ones for stitching leather.
Typical cotton threads are not suitable for leather stitching since the tannins found in the leather may rot over the years and cause the cotton thread to devour. Thus, always remember to pass them over when choosing the right thread.
Instead, experts recommend nylon for thick leather and polyester for thinner leather, as their usefulness in a leather machine is due to their longevity and robustness.
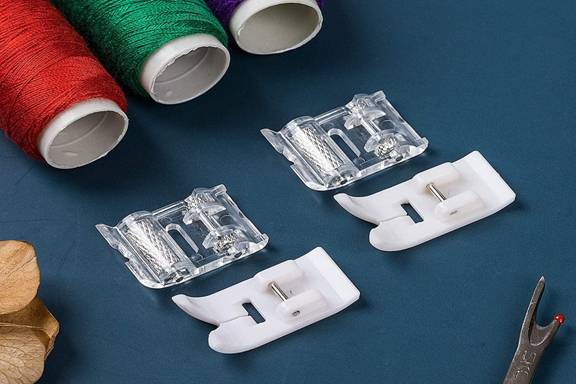
4. Change The Presser Foot
A regular metal presser foot may not be the right choice since leather has a sticky texture that may ruin the feeding process.
For this purpose, certain alternatives in the market can help you avoid such anomalies. These include the following:
Teflon foot: These presser feet are coated with Teflon, allowing every type of leather to glide through without sticking. It is due to this reason that they are occasionally called the non-stick or ultra-glide foot.
Roller Foot: As the name implies, these presser feet incorporate two to three rollers (which can be made of plastic, metal, or a fusion of both). The larger one is attached to the front and the smaller ones at the back. They act like bulldozers that roll in the opposite direction of the fabric and make it straight and smooth for the needle to pass through without sticking to it.
Walking Foot: Also known as even-feed foot, these presser feet have feed dogs that work parallel to the sewing machine’s feed dogs to clutch the fabric from both sides and pass the machine smoothly and evenly through it.
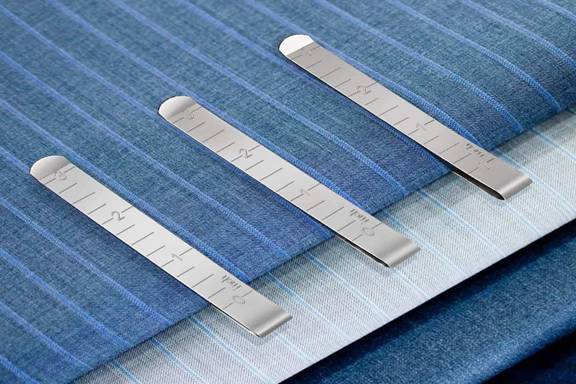
5. Use Longer Stitches
Stitch lengths for the usual fabrics are short because those materials are thinner and less sticky than leather.
With that reasoning, longer stitch lengths are ideal for leather stitching. With every stitch, you create an irreversible hole in the fabric, and with shorter stitch lengths, the leather will become weak and prone to tearing.
The stitch lengths vary from machine to machine. The most extensive stitch length in a sewing machine is more or less 4 to 5 mm. The consummate stitch length for leather is around 3-4 mm (⅛ in).
6. Bid Farewell To Sewing Pins
Sewing pins come in handy while securing the layers of the fabric before stitching. However, for leather, pins are not a suitable choice as they will leave permanent holes in the material. These holes can leave a bad impression on the final product if unintentional.
Instead, you must opt for alternatives such as sewing clips, double-sided tape, or even glue.
While using sewing clips, make sure the edges are not sharp enough to scrape away the smooth upper layer of leather.
Moreover, you can also use short or long strips of double-sided tape. But, always ensure not to put them straight below your stitching line as the glue on the tape may bind itself on the needle and possibly impact your machine.
A tip: It’s not necessary to struggle in removing the glue or tape after you’ve stitched the fabric.
Of course, all of this can be sped through with the right sewing machine. If you’re interested in finding a great list, here’s the article for you: Best Leather Sewing Machines.
TIPS AND TRICKS FOR SMOOTH STITCHING WORK
Before getting into your leather stitching project, you must know how to sew with a sewing machine and the dos and don’ts of the whole process.
The mainstream procedure of stitching has been mentioned earlier in this blog, but let us share certain words of advice that will come in handy for a smooth and unobstructed leather stitching session.
Without further ado, let’s dive into them!
Plan Your Work.
Planning is the key to a successful outcome. Before beginning, you must plan about the type of material that would suit your project and the required raw materials. Moreover, you must also ensure that the settings of your sewing machine cooperate reasonably with leather stitching.
Test First.
Testing on a scrap leather piece before working on the actual one is a crucial step, both for beginners and professionals.
If you feel like a stitch does not fit well, you can’t simply remove it since the holes on the fabric are permanent. Therefore, it’s necessary to check the performance of your machine on a scrap fragment to make sure you’re right on track.
Work Under Bright Light.
Ensure that the area you’re working in is bright and well-lit. In sewing, you deal with a lot of intricate details that require a clear vision.
You can fix some LED lights in your workplace to ensure that the area is always bright.
Transfer Pattern On The Opposite Side.
While imprinting a pattern onto your fabric, make sure you do so on the inner side (wrong side) of the leather so that any changes to the design do not affect the outward appearance of your product.
Use Topstitching.
A good thing about leather is that you don’t need to go for special seam finishing as it does not unravel over time. Still, if you want to make your product stand out, you can opt for topstitching so that your fabric looks compact and even. You can even hammer the seams to make them look less bulky.
Test The Tension.
Before you start stitching, carry out a tension test on a scrap leather piece. If, after stitching, the fabric shows off the seams and stitches outwards, you will need to adjust the tension of your machine midway accordingly.
Don’t Iron Directly.
If the piece of your fabric is crumpled, never iron it directly. This way, you will end up sticking the leather onto the iron, thus ruining both items.
An easy alternative is to place a cotton cloth above it and iron the fabric on medium heat.
Hammer To Control Thickness.
If you feel like the leather pieces you’re working on are unnecessarily thick and heavy, align them in layers and start hammering. For topstitched seams, do not hammer directly as they can generate permanent scratch marks. Put on a piece of cotton cloth above the leather before you start pounding.
A FINAL WORD
The details mentioned in this blog are certainly enough to educate you on how to sew leather with a sewing machine. Nevertheless, it takes a sufficient amount of time for tailors to become proficient in this profession.
In conclusion, don’t rush or give up too soon; just be patient and trust the process. And remember to clean your sewing machine regularly to keep the machine’s efficiency at it’s best!
Once you’ve learned all it takes to be a leather tailor, you can run a small business by selling leather purses, garments, or even belts. Sounds fun, right?
Hi, I’m Ewan Morrise, A fashion designer and passionate blogger. I specialize in reviewing best leather sewing machines on my blog, sharing insights and tips to aid fellow creators in choosing the right tools for their craft. Join me on this journey of creativity and discovery in the world of leatherwork!